Table of Content
The great thing about them is they come in so many shapes and sizes that you are bound to find what you’re looking for. For this guide, we’ll be using fruit shaped magnets. They also have no deep areas and undercuts which are two of the most important factors to take in when preparing a tool for forming.

Finally, once the chocolates are set and firm, remove them from the mold and dig in. Chocolate molds can be made of many materials; two of which are plastic and silicone rubber. To make plastic chocolate molds, like the kind that are sold at most craft stores, you will need a vacuum forming machine.
How To Make Silicone Molds For Chocolate?
Jessica Furniss is a recipe developer and food photographer with over 10 years of experience. She specializes in creating how-to articles on baking and creative charcuterie boards for Allrecipes. Silicone molds are arguably the best types of mold to have in a kitchen! If you're making lollipops, insert the sticks, twisting gently so that they're completely coated with chocolate. The wikiHow Video Team also followed the article's instructions and verified that they work.
If the spreader already has chocolate on it, it won't scrape the excess off and will make more of a mess. Any extra chocolate that's still left on the mold can be removed pretty easily by hand after the chocolates have set. Using your spreader, add a small amount of the melted chocolate to each mold, filling the mold completely. You'll want to fill each mold all the way up and then set the entire mold on a piece of parchment paper or paper towels.
How to melt chocolate for silicone molds?
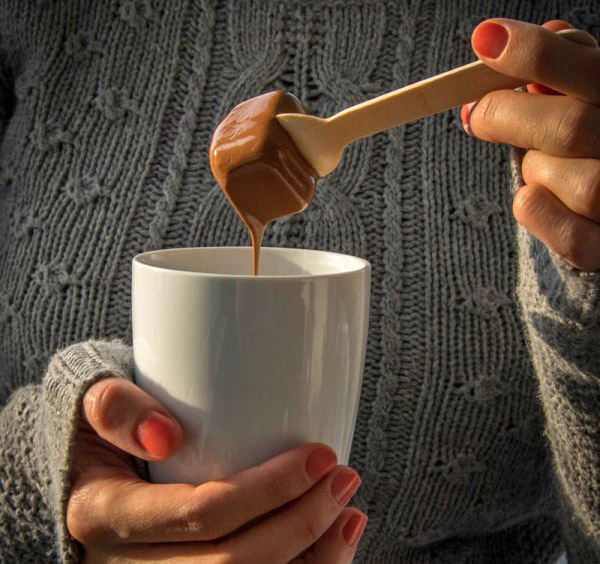
Use a cooking thermometer to make sure the chocolate is 110 °F (43 °C) when it's done. Be sure to stir the chocolate every 1 to 2 minutes once you notice it start to melt. If you’re a teacher, this project is a great vehicle for teaching students some of the principles of science and design thinking. Students gain a better understanding of concave and convex surfaces by designing a candy mold. For a video on the topic of concave and convex surfaces within design thinking, see the video below. You can also find a complete lesson plan devoted to these topics, as well as instructional materials such as learning objectives, test materials, and evaluation rubrics here.
Pinning this for later, because you never know when I might need it. I bought my silicone online from Make Your Own Molds . They have several different types, but what you’ll see in this tutorial is Silicone Plastique. Line the box with decorative tissue paper and put the chocolates inside. I chose to showcase my homemade chocolates in a gift box with a clear lid to give my valentine a sneak peek at these scrumptious bites. Be sure that you apply a coating that's thick enough so none of the mold is peeking through –– every nook and cranny should be coated in chocolate.
Multicolored Molded Chocolates
Store your chocolate in a plastic air-tight container. Always place the container in a dry, cool place, such as a pantry or cupboard. Ambient temperature should be 55 to 70 °F (13 to 21 °C) and humidity should be lower than 50 percent.Never store your chocolate in the refrigerator. If you can't freeze your chocolate, refrigerate it for about 15 to 30 minutes . However, remember that freezing "quick-cools" the chocolate, which makes the pieces easier to remove. Run the edge of a small palette knife or offset metal spatula across the top of the mold to remove excess chocolate.
This is a good thing to be mindful of so you don't overheat it. If you want to wow your special someone on Valentine's Day, skip the store-bought box of chocolates and make your own. It's easier than you think, and your valentine will feel the love you put into a box of handmade chocolates you made just for them.
Our trained team of editors and researchers validate articles for accuracy and comprehensiveness. If you're making your molds into lollipops, insert the sticks now. Be sure to twist the sticks all the way around once to ensure the chocolate coats it evenly. After setting up your printer options, you will be given the choice to save as a .stl file or send directly to the Makerware software for printing. Once a part has been created and is ready for printing you can select 3D Print option from the 123D Menu. This will bring up the 3D printer dialog where you can select your printer and options for printing.
It helps to sculpt directly on your silicone baking mat, so that you won't have to move and potentially smush your clay when you're done. Dark chocolate couverture contains cocoa liquor, sugar, cocoa butter, and vanilla. This kind of chocolate tastes the best by far, but it is expensive and harder to work with because it requires tempering. Here at Vaquform we like to believe that we have a firm understanding of who we make the machine for. Use a paper towel to gently remove any moisture from the chocolate pieces. Gently tap the mold tray onto a tabletop after filling all the cavities.
But we must add, if you want to do elaborate shapes, silicone is much easier to use than plastic. Plastic molds can’t be bent or manipulated to loosen the product. This means if the chocolate doesn’t come out easily it has to be manipulated, which probably means it’s going to break! And, it can withstand temperatures up to 375°F (191°C), which means it can be used for baking. To get started, the first thing you need is a model of the item you want to make into a chocolate.
It comes with a container of silicone mold putty and a container of rubber mold putty. When mixed together, the two putties combine to make a flexible mold that cures in 20 minutes. Even the simplest and easiest decorations add pizzazz!
From our experience, you may want to bring the temperature down to around 130C to prevent overheating and overstretching the plastic sheet which causes webbing and distortion. You can simply fill the mold with melted chocolate to make solid molded chocolates. But, if you want to create hollow chocolate molds, you can brush on layers of chocolate until it is thick enough to unmold. You have your molds, but you realize you want more of one shape or an entire tray with only that shape.
What makes it even more exciting is that there are literally endless possibilities on what you can do with Vaquform. What we’ve shown you here is only the tip of the iceberg; the most basic of applications with the most basic of tools. From a flat one-part mold, you may figure out how to create more complicated, multiple part molds for 3D pieces and we tell you it literally does not end there. Repeat the same process of loading your plastic sheets, adjusting the material settings and placing the tools on the forming area. Note that there are no more magnets for your tools so they may shift positions from time to time during forming cycles or slight movements.
Let’s say we want more grapes but the set of magnets that were used for this guide only contained two grape shapes. You’re free to use those two pieces but it may seem like a waste to use one whole sheet with only two small pieces. To achieve this, makers would often use 3D printing to create multiple copies of a tool. Here at Vaquform we developed a technique of making copies of a tool using epoxy resins. Still being a beginner’s guide, we’ll keep the materials we use more accessible.
Allow the silicone to harden before removing the item and using the mold. Once you're happy with your piece, you'll need to bake it at 275F for 15 minutes to set. Fill each mold slowly with a squeeze bottle, spoon, or by pouring chocolate from a measuring cup.


No comments:
Post a Comment